Hey all, this is my shiny new Flames of War blog. I'm new to the game (about three months in) and I and my friends decided to chronicle our journey through the hobby. I'm a long time hobbiest playing both Citadel and Privateer Press games. I imagine as time goes on some of that will leak in along with painting stuff and other thoughts. But for now, I give you our first Bat Rep. Between me, Throckmorton, and Brit loving rommie, CrazedLoon.
| Racing in from the eastern front with no time to change their kit or repaint their tanks Kampfgruppe VonThrock is thrown into the cauldron around Somerset. Forward elements of the Kampfgruppe had just raced to their positions late in the evening when, unbeknownst to them, a crack team of commandos lead by none other than Col. "Cornstalks Stop Bullets" Peter Young. Can the commandos break through under the cover of darkness before critical German reserves arrive? Will the Germans be taken unawares or will Fritz stand his ground on British soil? Read on to find out.
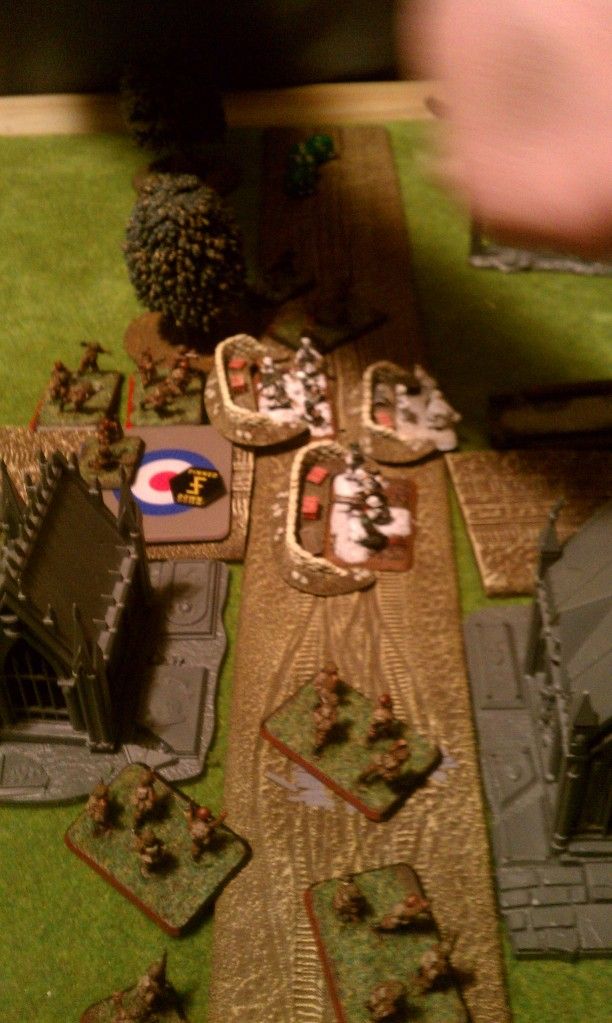
This is a 2000 point Hold the Line night fight, with Commando's attacking |
Kampfgruppe VonThrock
- PnzerGren HQ with Fausts 85
- Full Panzergren Platoon w/Faust & 3.7cm Halftrack 230
- Full Panzergren Platoon w/Faust & 3.7cm Halftrack 230
- Panzergren Heavy mortars 165
- 5 PZ IV's 450
- 3 Panther G's 560
- 4 Panzerwerfer 42's w/extra crew 230
- Total: 1935 6 platoons
|
CrazedLoon Commandos
- Commando HQ 2 PIAT 1 Sniper 110
- Full Commando Company 2 PIAT 390
- Full Commando Company 2 PIAT 390
- Full Commando Company 2 PIAT 390
- 8x 25 pdr Corps Artillery 250
- Naval Gun Support (4 guns) 200
- Priority Air Support 220
- Lt. Col. Peter Young 50
|
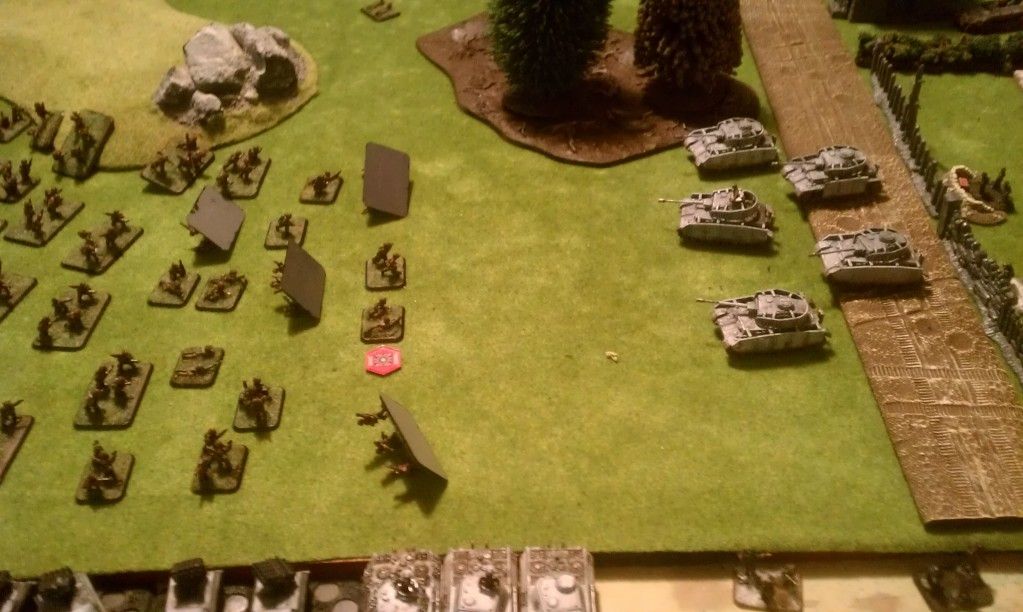
SETUP AND DEPLOYMENT
 " target="_blank"> " target="_blank"> " style="width: 100%;" align="center"/> " style="width: 100%;" align="center"/> |
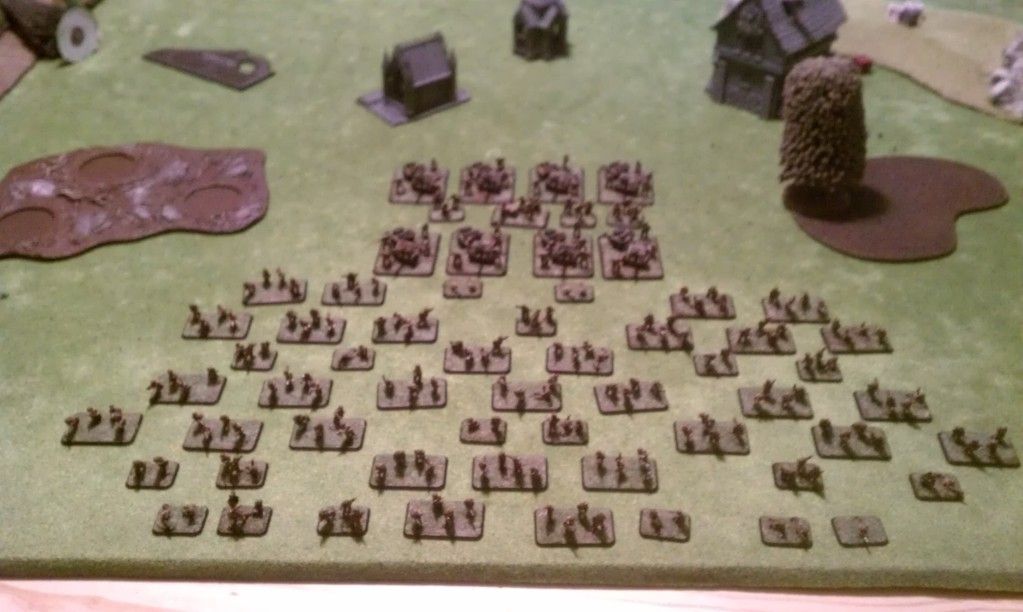
| The Brits in Detail before Deployment |
 " target="_blank">" style="width: 100%;" align="center"/> " target="_blank">" style="width: 100%;" align="center"/> |
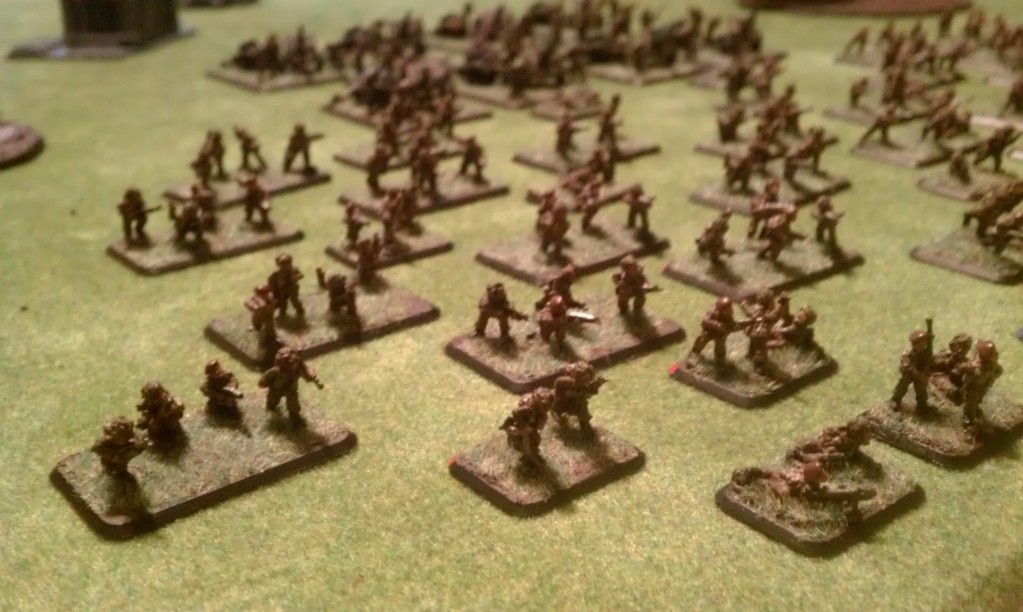
| Brit Close Up |
 " target="_blank">" style="width: 100%;" align="center"/> " target="_blank">" style="width: 100%;" align="center"/> |
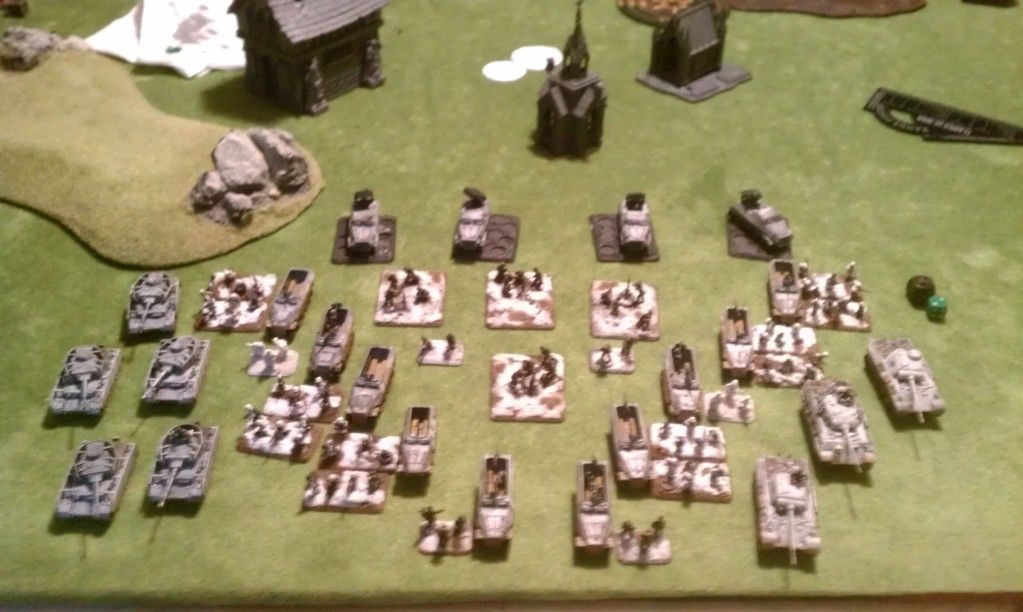
| Jerry in Detail before Deployment |
 " target="_blank">" style="width: 100%;" align="center"/> " target="_blank">" style="width: 100%;" align="center"/> |
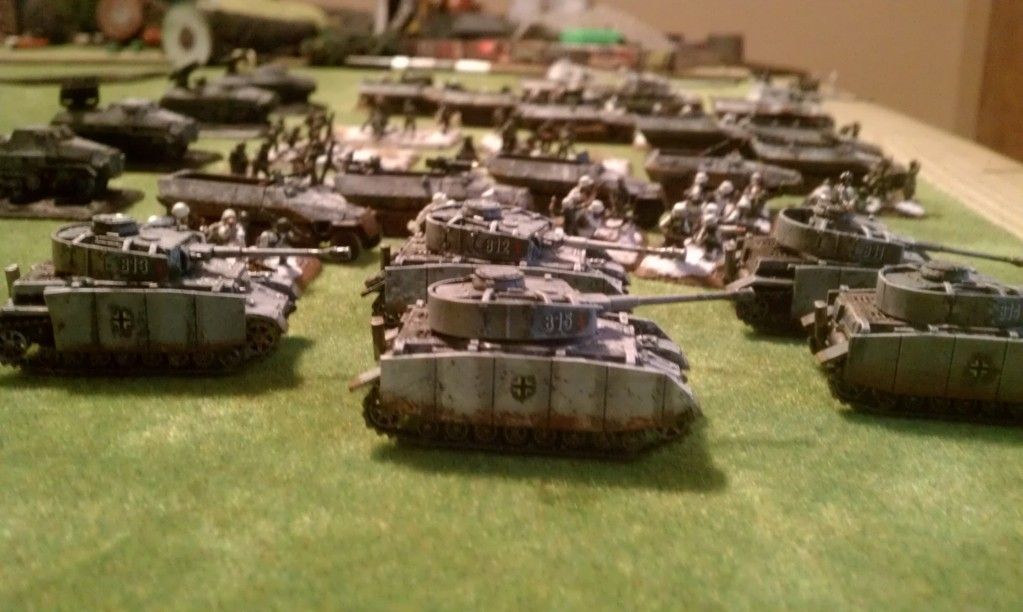
| Jerry Close Up |
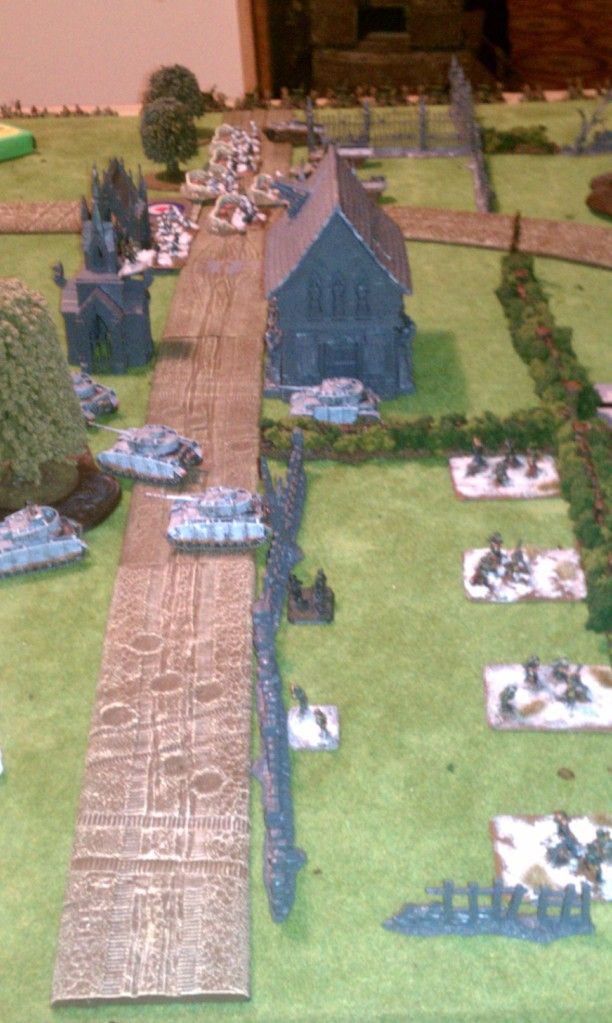 " target="_blank">" style="width: 100%;" align="center"/> " target="_blank">" style="width: 100%;" align="center"/> |
| Jerry Deployment in a small Somerset town. |
 " target="_blank">" style="width: 100%;" align="center"/> " target="_blank">" style="width: 100%;" align="center"/> |
|
UNITS IN RESERVE
|
Kampfgruppe VonThrock
- Platoon of Panzergrens
- Panzerwerfers
|
CrazedLoon Commandos
|
DEPLOYMENT SUMMARY
|
Kampfgruppe VonThrock: My hope was to use the few assets I had on the board to hold my ground, pin the Brits and hope for reinforcements to arrive quickly. The PZ IV's held the left (bottom) and one squad of Grens held the right (top of images).
CrazedLoon Commandos: The Brits deployed the majority of their PIAT's on the German left to deal with the Panzers in order to break through and make a run on the mortars and the weaker of the two elements. A small team of commandos was deployed on the German right to keep the Grenadiers pinned and unable to support the tanks and Mortars. Arty spotters were split in the hopes of getting a clear shot on any would be reinforcements. |
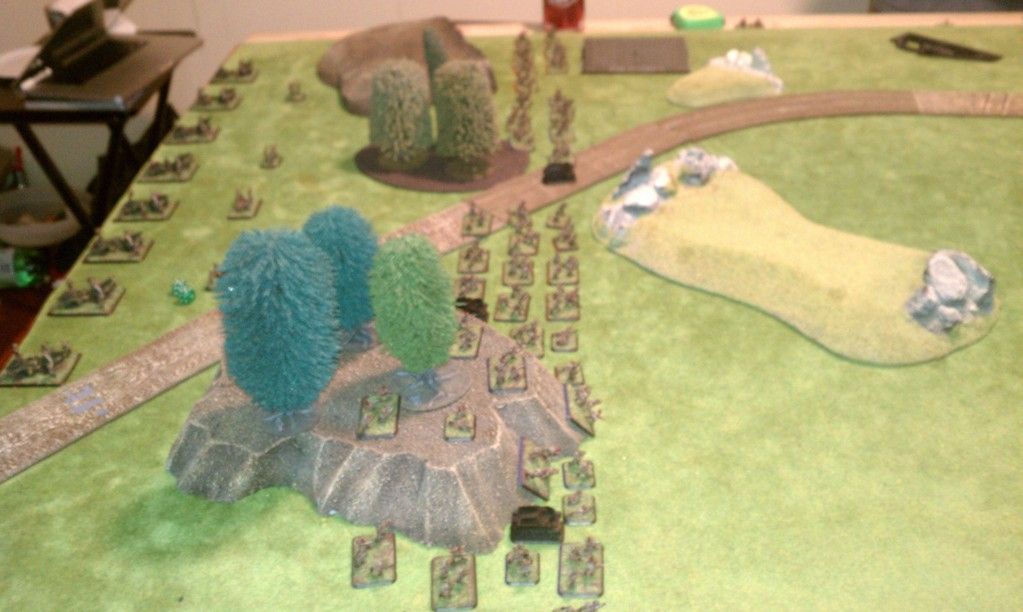
TURN 1
 " target="_blank">" style="width: 100%;" align="center"/> " target="_blank">" style="width: 100%;" align="center"/> |
|
COMBAT CASUALTY SUMMARY
|
Kampfgruppe VonThrock
|
CrazedLoon Commandos
|
TURN 1 SUMMARY
|
Kampfgruppe VonThrock: I waited, my Jerries peacfully sleeping in their fox holes.
CrazedLoon Commandos: Brits step off and not bloody much happens due to slow movement on the night turns |
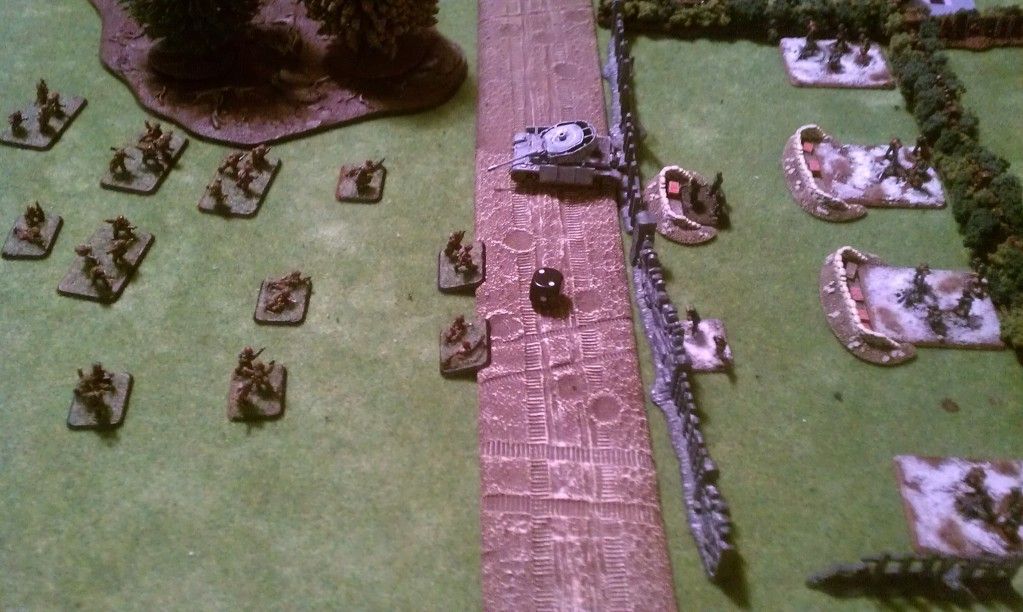
TURN 2
 " target="_blank">" style="width: 100%;" align="center"/> " target="_blank">" style="width: 100%;" align="center"/> |
|
COMBAT CASUALTY SUMMARY
|
Kampfgruppe VonThrock
|
CrazedLoon Commandos
|
TURN 2 SUMMARY
|
Kampfgruppe VonThrock: FIRST BLOOD! My tanks saw something move in the night and took some pot shots, taking out one stand of commandos. Not much, but a start.
CrazedLoon Commandos: More advancing. |
TURN 3
 " target="_blank">" style="width: 100%;" align="center"/> " target="_blank">" style="width: 100%;" align="center"/> |
|
COMBAT CASUALTY SUMMARY
|
Kampfgruppe VonThrock
|
CrazedLoon Commandos
- 4 Commando Teams in Lead Platoon on Left
- 2 Teams
|
TURN 3 SUMMARY
|
Kampfgruppe VonThrock: Fritzie is fully awake and the zipper sound of machine guns can be heard across the line. We hold and call for reinfocements and dawn has not yet come. Despite intese fire the PIAT's live.
CrazedLoon Commandos: Commandos start after the mortar observer in the (weirdly gothic) church tower and take some pot shots at the PZ IV's while continuing the general advance. |
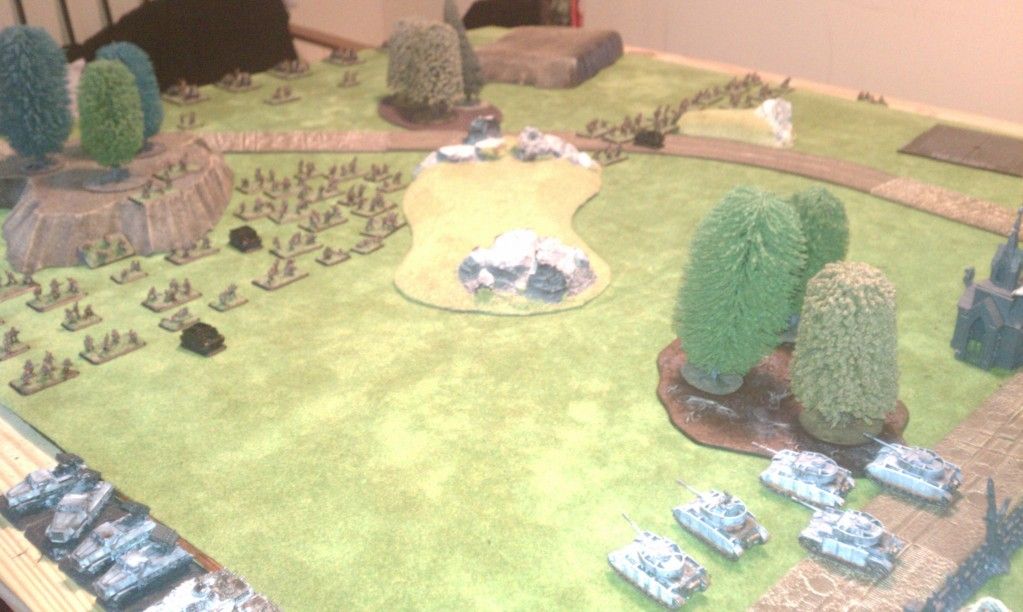
TURN 4
 " target="_blank">" style="width: 100%;" align="center"/> " target="_blank">" style="width: 100%;" align="center"/> |
| Heart breaking (and now broken) loss of the PZ IV's |
COMBAT CASUALTY SUMMARY
|
Kampfgruppe VonThrock
|
CrazedLoon Commandos
- 5 Commando Teams & 1 PIAT in Lead Platoon on Left 1 P
- 2 Teams
|
TURN 4 SUMMARY
|
Kampfgruppe VonThrock: Gak! Where are those reinforcements. It's two turns of failed rolls and my left is melting under commando skill and piat fire. The 2iC decides to get VonRambo on the Red Devils and takes out a Piat team but I'm forced to move the mortars back while using sustained fire from my grens on the right to pin the incoming brits.
CrazedLoon Commandos: Dawn breaks at the top of the turn and the air support starts to come in. The Red Devils up the action on the PZ IV's, and after sustained Naval and Local artillery support, assult and drive them from the Field. A crushing Blow for the Germans. The commando's on the right get all WW1 and dig in to keep the jeery Grenadiers busy. |
TURN 5
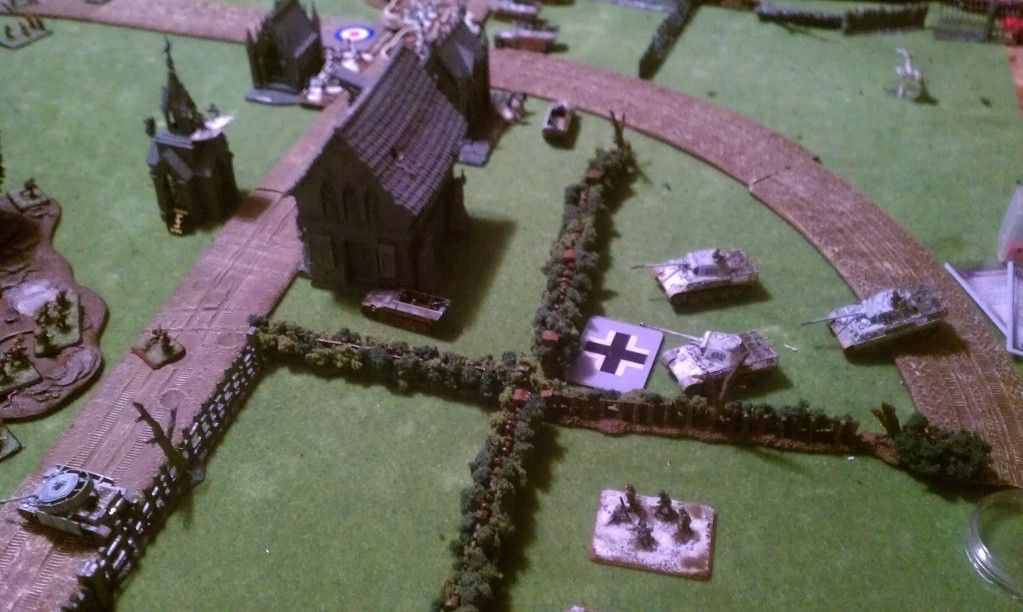 " target="_blank">" style="width: 100%;" align="center"/> " target="_blank">" style="width: 100%;" align="center"/> |
|
COMBAT CASUALTY SUMMARY
|
Kampfgruppe VonThrock
- Pz IV's
- Command and 1 Stand in the Mortar Platoon.
|
CrazedLoon Commandos
- 1 Commando Platoon
- 2 Teams in Second Commando Platoon on Left
|
TURN 5 SUMMARY
|
Kampfgruppe VonThrock: Panthers finally make it onto the field! And with no time to loose. The left is looking beyond shaky so I start to send them over there to help shore it up. Mortars simply shouldn't be front line troops against killer Brit commandos. Things are starting to not look great on the right either. I'm holding, but for how long?
CrazedLoon Commandos: I hold on the right taking out two teams from the dug in Grenadiers while pushing with an extremely understrength Commando team against the mortars on the left. Despite taking out the spotter my bloodied commandos were run off the Field. |
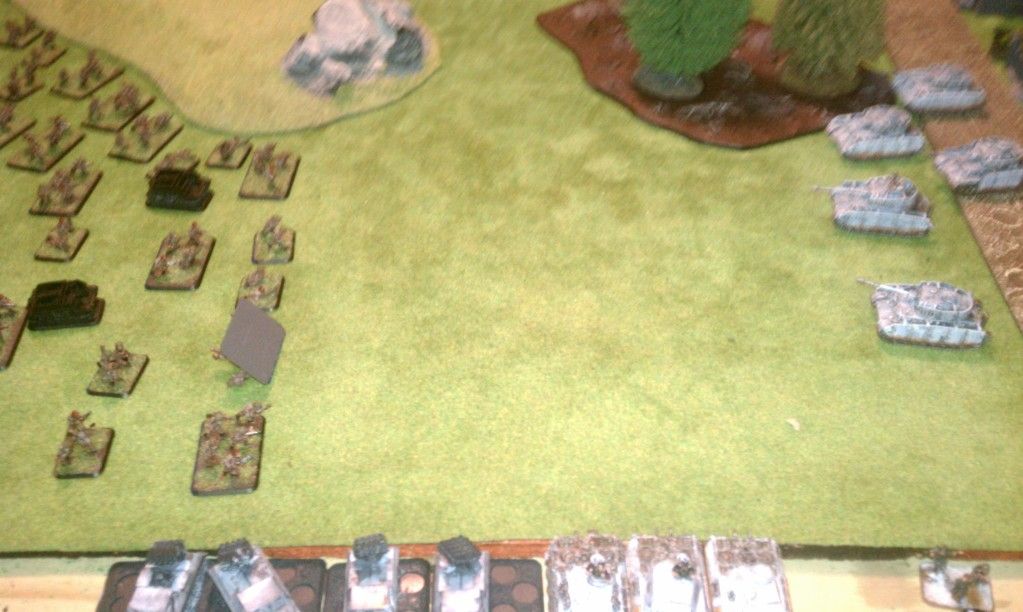
TURN 6
 " target="_blank">" style="width: 100%;" align="center"/> " target="_blank">" style="width: 100%;" align="center"/> |
|
COMBAT CASUALTY SUMMARY
|
Kampfgruppe VonThrock
- Pz IV's
- Command and 1 Stand in the Mortar Platoon.
- 3 Troops from Grenadiers.
|
CrazedLoon Commandos
- 1 Commando Platoon
- 2 Teams in Second Commando Platoon on Left
|
TURN 6 SUMMARY
|
Kampfgruppe VonThrock: Finally my other platoon of Grenadiers come in, but I don't think they'll get where their needed in time. Things are starting to get very shaky all around and I need a game changer. I push my Panthers up, risking the bogging checks on the hedgerows and started to lay fire into the Commando's in the hopes of pinning them or doing some damage. Critically, I failed my storm trooper move with my Panthers and couldn't get back to safety.
CrazedLoon Commandos: I move hard up the center in order to try and take the objective behind the Panthers. I was hoping to push on the infantry where I had the advantage and set a trap for the Panthers. I'm thinking assult on Turn 7 vs. the tanks and the Grenadiers. In a show of overwheming force I assult the church and take out the other mortar observer while keeping the pressure up on the Grenadiers. |
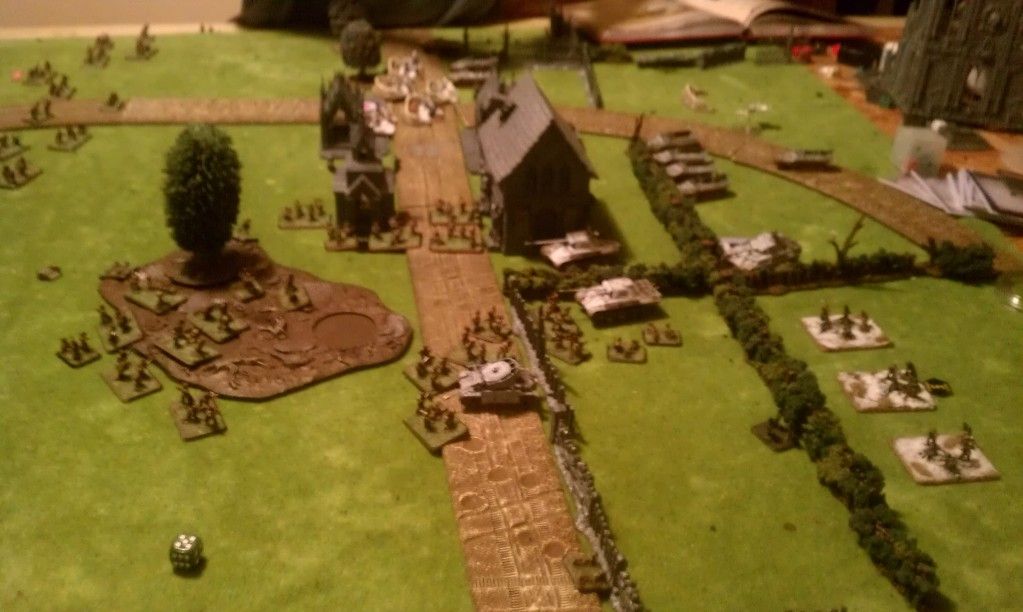
TURN 7
 " target="_blank">" style="width: 100%;" align="center"/> " target="_blank">" style="width: 100%;" align="center"/> |
| Panthers bite it under attack from the Red Devils. |
 " target="_blank">" style="width: 100%;" align="center"/> " target="_blank">" style="width: 100%;" align="center"/> |
|
COMBAT CASUALTY SUMMARY
|
Kampfgruppe VonThrock
- Pz IV's
- Command and 1 Stand in the Mortar Platoon.
- 3 Troops from Grenadiers.
- Panthers
|
CrazedLoon Commandos
- 1 Commando Platoon
- 2 Teams in Second Commando Platoon on Left
- 1 Commando Platoon
|
TURN 7 SUMMARY
|
Kampfgruppe VonThrock: A morale test I fail. You win this time Brits!!!
CrazedLoon Commandos: The final assault. I push in against the Panthers with a couple of platoons of commandos and send three platoons against the weakly defended Grenadiers and 1IC on the right. I'm able to knock out the Panthers and run the Grenadiers off the table, leaving no one but Red Devils in 4 inches of the Right (top) objective and forcing Throck into making a Company Morale test. |
| Throckmorton: I hate delayed reserves. What do I hate more than delayed reserves? Delayed reserves during a night fight. I made some big mistakes here and they cost me the game. I should have started with two Grenadier teams and the Panzerwerfers on the table. Those wide templates would have been great against the clumps of British infantry and my grenadiers don't really care wether they are shot with a gun or a PIAT, unlike the tanks. Good show to the Brits and many lessons learned for this FOW newbie.
CrazedLoon: I'm starting to learn how critical it is to bring the proper tools to the job (PIATS anyone?) and when I should attack and defend. This was clearly an attack fight and Throck let me know where his tanks were going to be, letting me put my AT right where it was needed. I find the sniper unimpressive against mechanized infantry and I need to learn proper placement and target priority with it. Air Support against dug in infantry in terrains was kind of a wash this game. I'm not sold on priority air support being worth while, especially during a night fight. |
Generated by WWPD's BatRepper Software.

No comments:
Post a Comment