
 |
| The Throck of War Team, back from some needed R&R I'm that saucy minx in the center. |
Over the next couple of weeks I'll be posting up a backlog of stuff I've photographed over the last couple of months including:
~An Afrika Corps photo study for my mid war army, with WIP pics of the actual army to follow.
~WIP Picks of my 101st Para's & Welsh Guards for some upcoming market garden fun
~A pic dump from a Tournament at Huzzah Hobbies from late September where I got housed but Loon actually won the darn thing.
~Bolt Action Learn to Play fun and WIP pics of my SS and Ranger armies
~And hopefully much much more!
But first up I bring you a most excellent Bat Rep as last night my boy from the WWPD Forums Pyrrhic Victory and I threw down an epic 1780 point late war battle.
Scenario: Counter Attack
Points: 1780
Attacker: 99th ID by Pyrrhic Victory (Confident Trained from Devil's Charge)
Defender: 12. Volksgrenadierkompanie by Throckmorton (Confident Vet's from NUTS!)
Place: Our FLGS Eagle & Empire, Alexandria, VA.
The Board:
 |
| The Board with objectives. I deploy bottom right, Pyrrhic deploys top right. |
THE LISTS:
12. Volksgren
HQ: 2x Commanzerfaust
Combat Plat 1: VG Sturm Platoon w/1x Schreck
Combat Plat 2: VG Schutzen Platoon
Weapons Platoon: HMG Platoon
Div Support: Volks Pioneers with 9x Stands (2 flamethrower) and CMD
Div Support: 4x Hetzer
Div Support: 3x StuG G (Late) Starting in Mobile Reserves
Div Support: Volks Rockets 6 tubes
7 Platoons 1775 Points
99th ID
HQ: 2x Cmd
Combat Plat 1: Rifle Platoon w/Bazooka
Combat Plat 2: Rifle Platoon w/Bazooka
Combat Plat 3: Weapons Plat 2x LMG 2x 60mm Mortar
Weapons Plat 1: Mortars 4x 81mm
Weapons Plat 2: 3x 57mm AT Gun 3x Bazooka Teams on Truck
Support Plat 1: TD's 4x M10 and recon element
Support Plat 2: TD's 4x M10 and recon element
Support Plat 3: Engineers, 4x Bazooka, 4x Rifle, 2x HMG
Support Plat 4: Cav Recon 1x M8, 1x Mortar Jeep, 1x Recon Jeep
Support Plat 5: Arty, 4x 10⁵'s
Support Plat 6: AOP
10 Platoons 1780 Points
Setup
 |
| German Setup... I'm dumb, I know... |
 |
| American Setup, A lot of meat in a small place |
Recce Move:
 |
| Pyrrhic Swings his Recce Boys around center table |
 |
| And quickly contests the left objective (it doesn't go hot until Turn 6) |
 |
| Pyrrhic Moves his troops out |
 |
| And layeth down the smoke so my nebs are blind |
 |
| My StuG's arrive |
 |
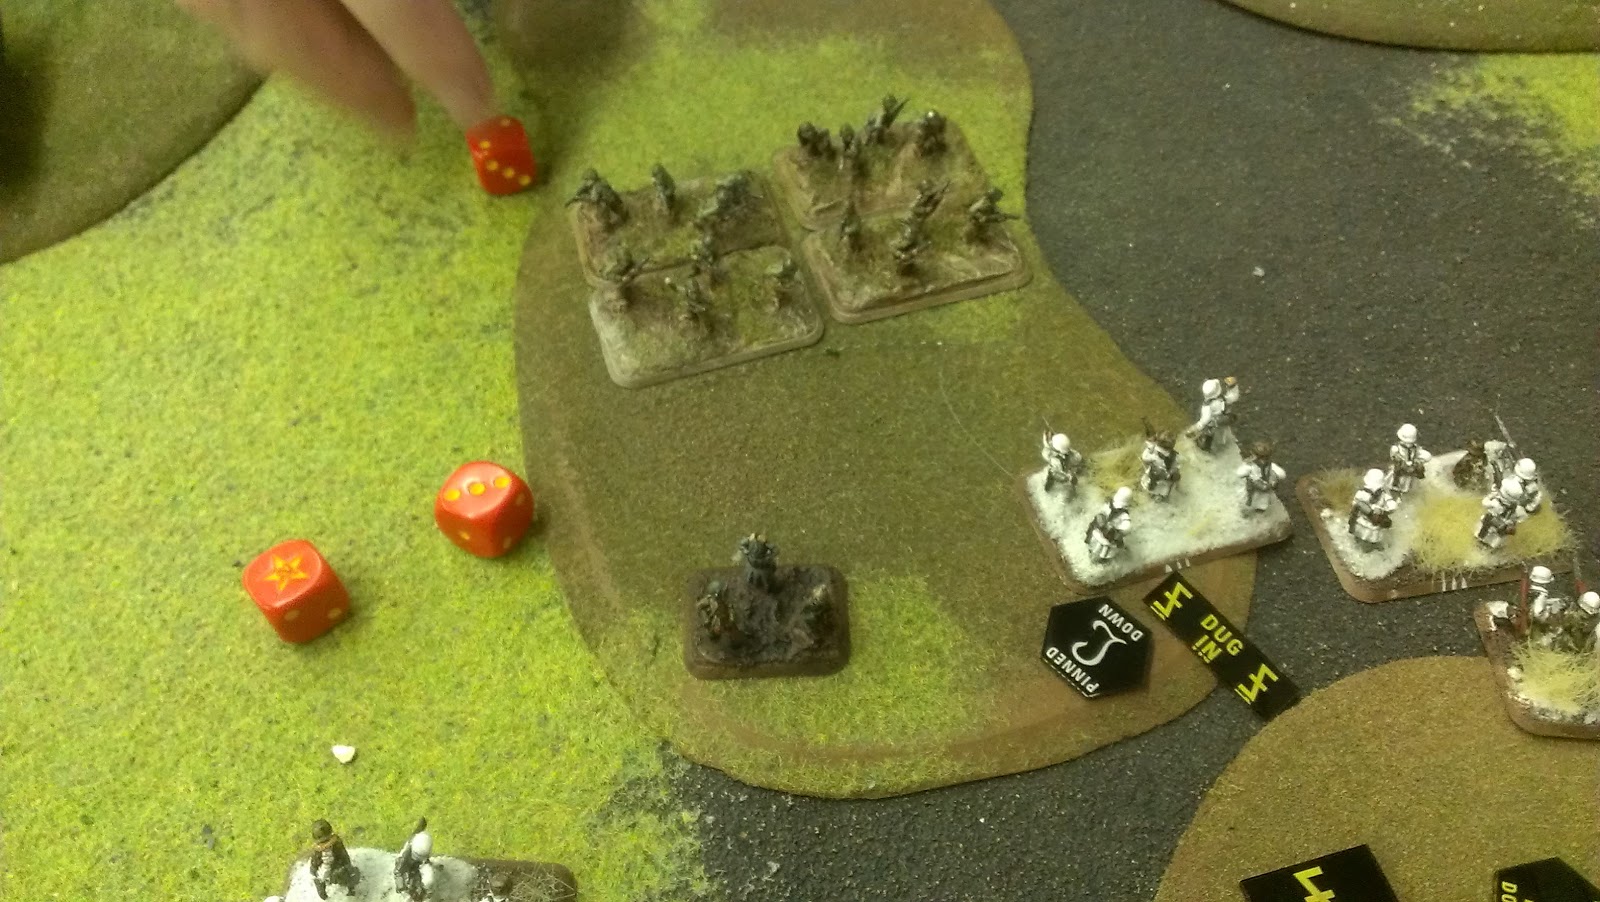
| And head up the hill along with the Sturm Platoon, moving towards the out lying objective |
 |
| Pyrrhic's TD elements move behind the hill, waiting for their moment |
 |
| As his engineers move up the center |
 |
| And the balance of his forces begin to move out on the German Right |
 |
| Throck's StuG's and Hetzer move up to combat the TD threat |
 |
| While the Sturm platoon takes fire from the slew of MG's and loses a few stands |

 |
| The StugG's are shocked to see those jeeps magically transform into M10's! |
 |
| As the M10's are happy as can be to see they have a target rich environment |
 |
| The other TD element (we called it reverse lend lease) helps weight the center along with the truck born AT and the engineers |
 |
| Artillery and M10's open up on the Stug's taking out one and bailing the others |
 |
| The onslaught continues as the TD's eat up the Hetzers and Force the StuG's to flee. |
 |
| However, the Neb's do a yeoman's job on the mob in the center scoring a number of kills on the trucks and engineers, however they only bail one TD. |
 |
| Noting that the situation is beginning to get a bit out of hand, I start to shift my Pioneers (front line just creeping up on the hill) over to try and help secure the objective. |

 |
| Yet, the American (lightly) armored fist moves ever foward |
 |
| Bearing down on the Pioneers |
 |
| Finishing the last Hetzer |
 |
| And Gutting the Pio's |
 |
| Things, indeed, do not look good for our anti-hero |
 |
| I decide to up the action, send the boys over the top and start feeding a stand at a time into the objective |
 |
| Poor lonely guy needs a friend |
 |
| There we go... |
 |
| The push in the center goes very well for the American's they've kept my pio's pinned and are now moving up to assault my HMG's and Schutzen protecting the right objective! |
 |
| Inching ever closer through the forrest |

 |
| As the M10's light up the Sturm platoon taking them down to one little heroic stand |
 |
| And the artillery begins to take it's toll on my rockets... Being reluctant and pinned is never good. |
 |
| The Yanks assault! |
 |
| But are driven back at the loss of two stands |
 |
| Sadly though, things look positively hopeless on the left. |
 |
| As my one stand takes the combined fire of 4 tanks |
 |
| But survives!!! |
 |
| Until that bloody recce shows up |
 |
| And cuts them down |
 |
| Here's where we called it. Pyrrhic had the game well in hand. |
In other words, I've got rust on them thar wheels and Pyrrhic is a great player. Meaning I got housed like I so richly deserved :)
Well, that's all for the first post back. Hope you enjoyed reading it at least half as much I as enjoyed playing it.
First of all, good to see you back. You guys must have been flat out during the election season. The batrep was great. You said that your deployment was dumb, what did you think was the problem? I've looked at it a few times and i'm not too sure where the issue lay. As soon as I saw the Stugs on the hill and the TD SS teams hiding behind the hills I knew that someone was in for some pain. Once again, good to see you all back and look forward to reading more.
ReplyDeleteHey man,
ReplyDeleteI should have posted up some guys (maybe the HMG's) on the center hill to prevent recce movement across the middle of the board. It would have given me an extra turn to scoot my armor and infantry to the out of deployment objective. Also, I shouldn't have deployed my defensive line on the in deployment zone objective so far back or made it so deep. I could have more effectively set the Pio's up to move on the objective along with the Sturm platoon. HMG's + Schutzen + woods + dug in is plenty enough to defend against an objective against infantry.